Bower Power Hour: Click Here
Bower Power Hour Episode 1: Click Here
Tech and Tools Welding: Click Here
“30Pack” Matt is the Tech and Tools guru from Bower Power Hour. He walks guests through installs, tech, buying parts, and more. All work is done either on Matt’s personal buggy or the Craigslisticon, Bower Power Hour Producer Gabe’s jeep for both offroad and daily driving. In this episode of Bower Power Hour‘s Tech and Tools segment “30Pack” Matt talks about the most important steps when welding.
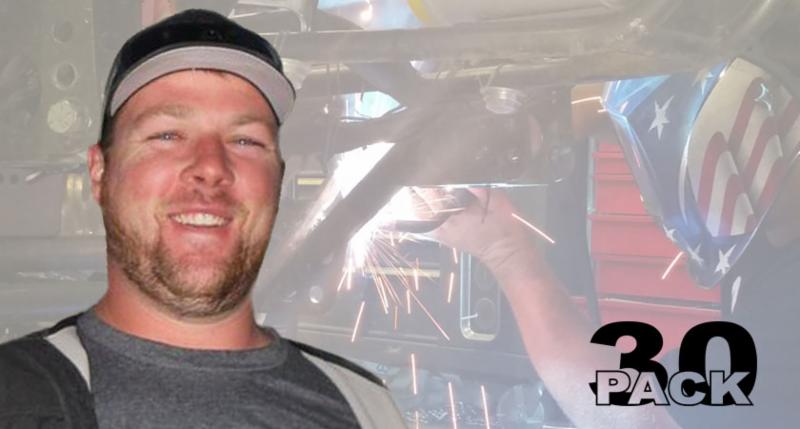 Matt: Today we are going to talk about welding and how important it is to do the right steps to make sure you don't warp the piece that you are welding.
Charlene: So what's step 1?
Matt: Step 1 is realizing that when you weld, the metal is going to want to pull in the direction of the side that you're welding. A lot of people aren't aware of this or they aren't aware of how much force it will put on a piece. So the first step is to not overheat the housing. By trying to keep the outering straight you'll actually destroy it by warping it into a banana shape.
Charlene: And step 2?
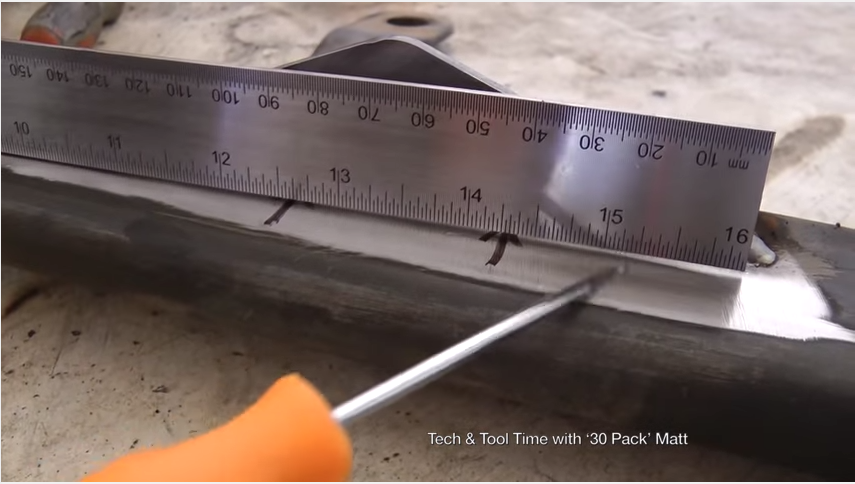 Matt: Now that you realize the metal pulls while welding, you try to prevent it. When you're working on a piece you don't want to spend too much time on one area. You'll start building up too much heat. The best way to avoid this is to move around to the complete opposite side of the axle and do another 3 or 4 inches. Then you should walk away for a bit and let it cool down. It doesn't need to be room temperature, but cool enough to put your hands on without burning them. Then repeat that step over and over until the whole piece is welded. Even then you might get some warpage.
Charlene: Step 3?
Matt: Step 3 is just practicing a ton on your starts and stops. When you start a weld you should be able to make it look just like the previous weld. You can practice on your bench by trying to weld an inch and then weld an inch right next to it. It should look like one continuous weld even though it wasn't. There are YouTube videos and a lot of other resources out there to help you learn the concept, but the technique comes from practicing how to pick up where you left off without leaving a big bubble.
Charlene: So what else would you recommend to new welders?
 Matt: Like I mentioned before, practice is really important and should include your metal prep. Make sure you always have clean surfaces. The cleaner the better; the more comfortable you are, the better. The more practice you get the better your welds are going to be.
Charlene: How do you generally prep the metal for welding?
Matt: To prep the metal for welding you can use anything from a grinder with a grinding stone to an air grinder with a sanding pad. With powder coat you should use a torch with a rose bud to burn off the paint. You'll see the power coat turn to charcoal.
Charlene: So, what's one of the tricks of the trade that you do while you're welding that a lot of people don't know or wouldn't think about?
Matt: I can't give you all of my secrets! I don't focus on the weld, I focus on the previous puddle. I don't stare at art, I look at where the art was. That's the easiest way to make sure that you are staying on the line. It also helps your eyes adjust to the surrounding area, that way you can see if the weld joints are going to turn. Your eyes aren't focused on such a bright light for such a long time, and you can see where you're going and what your weld looks like.