And So It Begins……..
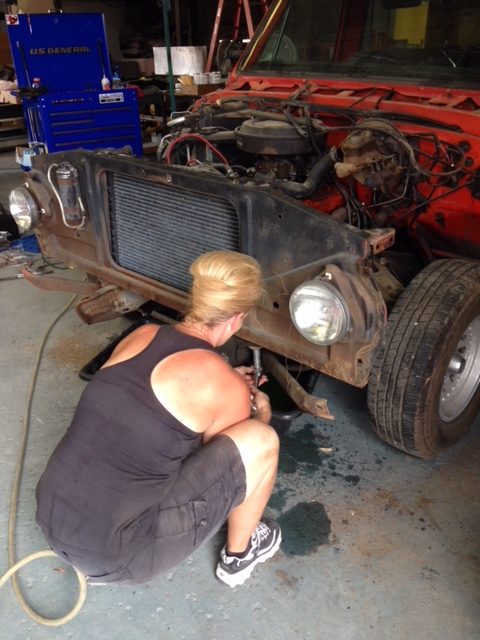
 On July 11, 2018 I went to work. I was so excited to finally begin that I was up, dressed for work, and had the Shop doors open by 5 am to allow the cool air in because let me tell you, the Shop in July with triple digit heat is nothing short of BRUTAL! After letting the Shop cool down, I started setting up by rolling my tool box over to my work station and getting out my Ladies Offroad Network Journal (came with the swag box I won on the first day of The 12 Days of Christmas Giveaways as a member of Ladies Offroad Network). I wanted to be able to document the project and make notes that I could refer to when putting everything back together. The Odyssey Battery was the very first thing I removed, a spare we keep here at the shop so we’ve always got one handy. Now it was time to really dig in and have some fun!
RSO Shop Girl Tip:
RSO Shop Girl Tip: When tearing down any vehicle, it is beneficial to bag your parts and label them. That way when you put everything back together you know what bolts, washers, and nuts go to each part. Even though I am replacing parts, bolts, ect I still bagged each item as I removed it and clearly marked each bag so if I needed to refer back to them I could, or if we needed them for another project everything would be together.

Stripped Carriage Bolts – Here’s the Trick
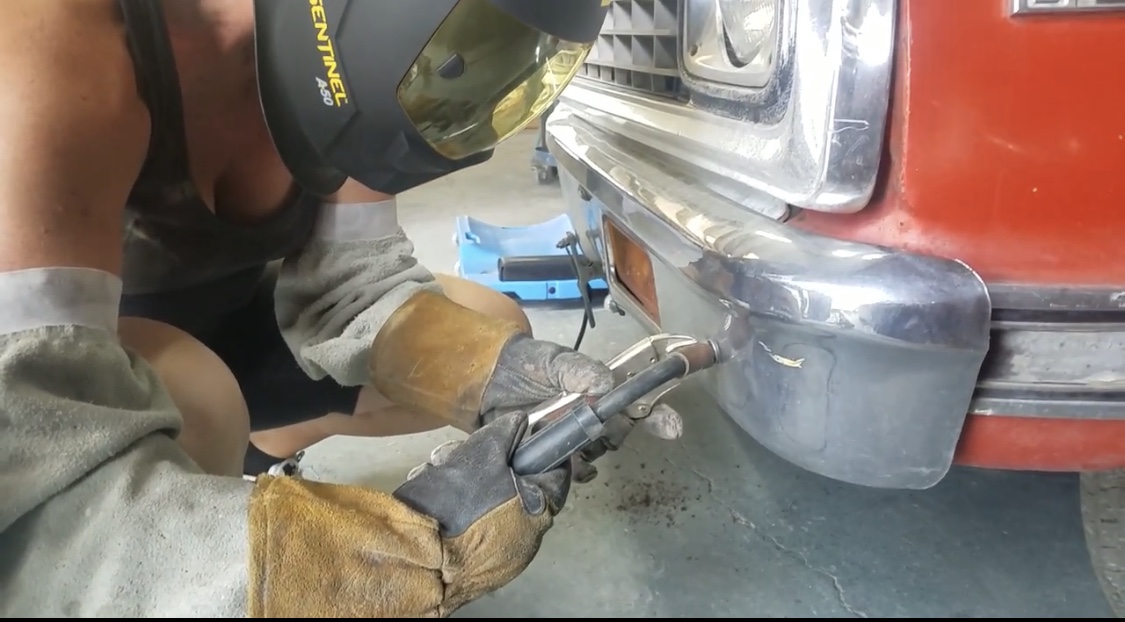
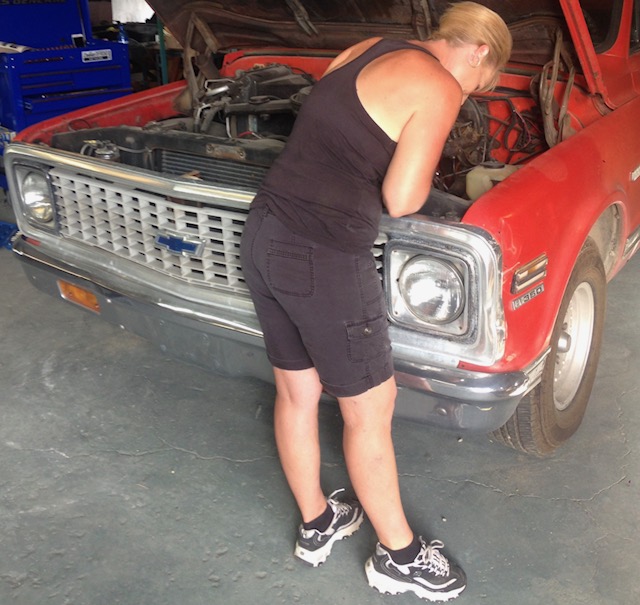
I began by removing the smaller stuff, the hood latch assembly wasn’t an issue at all. Some of the bolts were VERY difficult, at 46 years old the truck is bound to have some rust issues. The RSO Guys helped me out by handing me a can of Blaster (see tip below). Next, I looked over the front clip to see where I to start, but the bumper needed to be removed first. Getting the tools I needed along with my Matco creeper I rolled under the front bumper to begin. I didn’t get too far when I discovered that the carriage bolts were stripped. A carriage bolt has a mushroom head, right below the head is a square section. This section is placed into a square hole in the bumper making it self-locking, and a nut is then added to the shank. Removing this bolt (in good condition) only requires one tool. However, if the carriage bolt is stripped, meaning it will no longer stay inside the square, trying to remove the nut only makes the mushroom head turn. My first thought was, “Okay, now what? Do I just cut the bolt?” RSO Billy came to my rescue, you can indeed cut the bolt, but he told me about a trick he knew. Bringing over his welder, a nut close to the same size as the carriage bolt head, and a pair of vice grips he told me to grab my welding helmet and weld a couple of tack welds around the outside of the nut and then weld a “rosette” in the middle of the nut attaching it to the head of the carriage bolt. With this little trick I was then able to place an open end wrench on one side of the carriage bolt, then a socket and ratchet on the other, a little muscle to get the rusty bolt to turn and viola, it was out!
RSO Shop Girl Tip:
RSO Shop Girl Tip: Blaster is a rust penetrating catalyst and a MUST for any tool box. If there is a bolt or nut giving you problems give it a spray, wait a few minutes and usually it will come right off!