 New Battery + New Windsheild = New Life in This Ole Girl

Before we talk about the tear-down process of my project, let’s take a moment to look back at the maintenance I have done on her in the last year. Back in Idaho I had issues with Her, the only way I could get her to start was to jump Her via my Yukon. Once She started, the gas petal had to be applied constantly, if not She would die, and I’d have to start all over again. I had a few local mechanics look under Her hood. Each one came up with a different diagnosis. She needs a new battery; or no She needs a new starter; or no She needs a new alternator. None of which I could afford at the time, keep in mind She was a secondary vehicle. I only used her to haul lawn clippings and tree branches to the dump. So, sadly She sat parked, even when She and I moved to California, she sat in storage for the first couple of years. I was so excited when Big Mike finally came to me about a year ago and said, “let’s go get your truck”! When we got Her back to the Shop, Big Mike spent all of 10 minutes on Her, then She fired right up – and stayed running this time. I guess all She needed was an Odyssey Battery and some Big Mike love. The next thing She needed was a new windshield, so I wouldn’t get a ticket driving her. We called up our buddy Greg over at A Cut Above Auto Glass and in no time at all he had Her looking like new. He carefully removed the chrome trim (since it was in perfect condition) and replaced it with a rubber gasket, saving the chrome trim piece for Her restoration.
New Shoes + New Brakes = A Garage Girl is Born
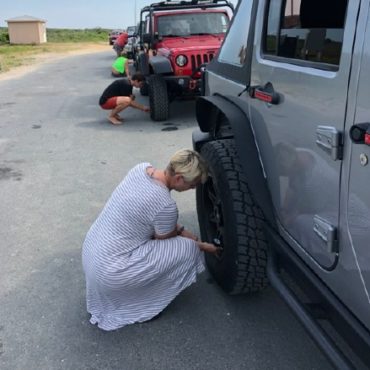
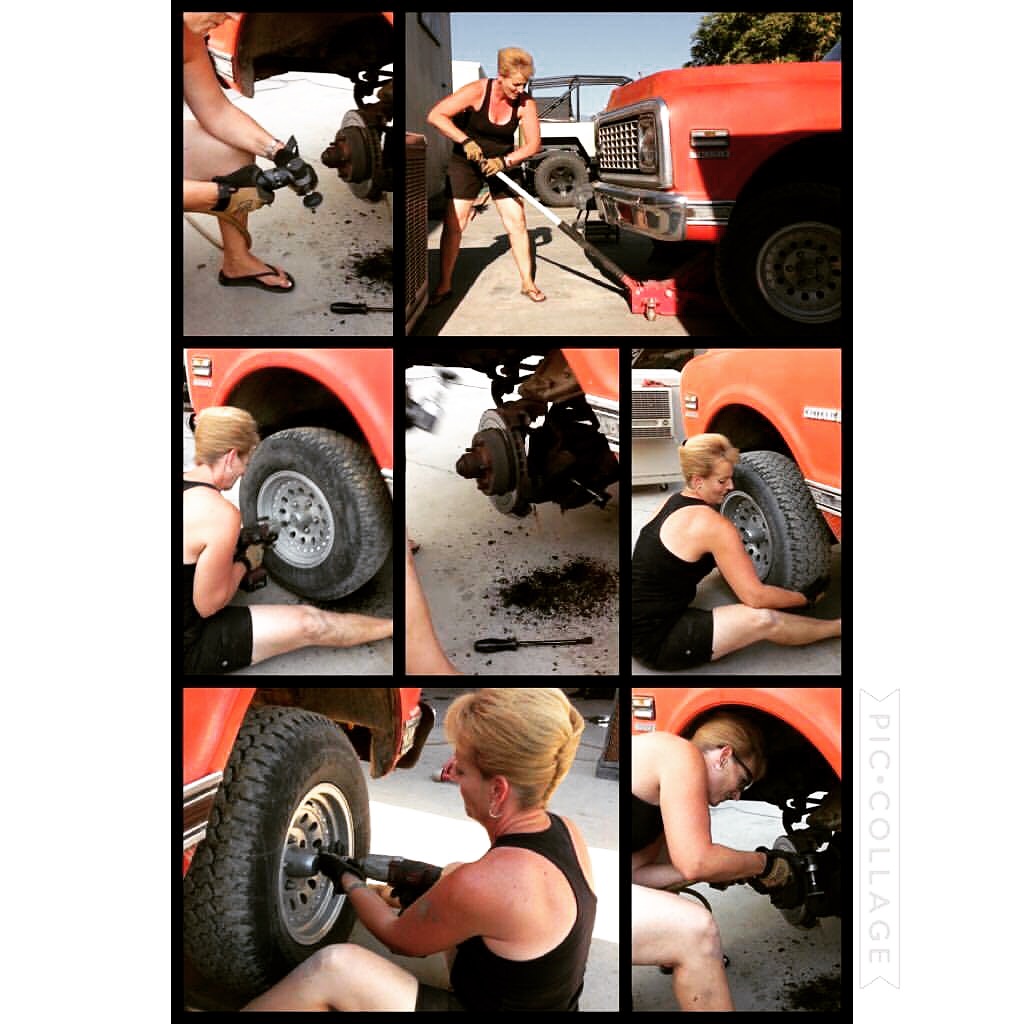
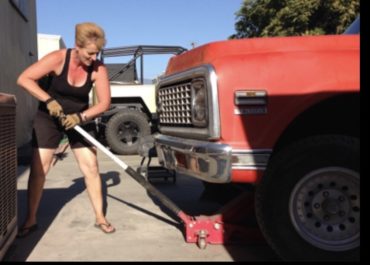
One thing I’ve learned from living here in the California Desert, is that the sun BAKES everything! Including your tires. If you don’t drive your vehicle often the sun will literally bake your tires until they crack and rot. This was the next item up to be replaced on my truck. Now when Big Mike said we needed new shoes, being a woman and a die-hard shoe fanatic, I instantly thought of shoes for me, NOT my truck – hahahaha! However, I was happy to get Her new shoes because she was in desperate need of them, and of course I wanted to be safe while driving Her. I just had no idea that Big Mike was expecting me to change them. I was up to the challenge though, if nothing else just to prove that I could and that the “doubters” were wrong. I pulled the truck onto the slab and Big Mike gave me a quick lesson on how to use the floor jack and up she went. It didn’t take long to get her tires off, then loaded them into the Shop dually so we could take them along with the new 235/75R15 Falken Wildpeak’s to Allen Tire Company in Hemet to have them mounted and balanced. While the tires and wheels were off, Big Mike decided I needed to replace the brake pads as well.
RSO Shop Girl Tip: While installing new brake pads, take time to clean and inspect the caliper guide pins. They are called guide pins because they guide the brake pad to the rotor at the proper angle. Cleaning off any dust, dirt, and debris is crucial before applying a anti-seize lubricant to ensure they function properly.
It’s hard to explain how I felt afterwards. I felt proud, I felt strong, and despite Big Mike’s help and guidance, I felt independent. I felt for the first time that if I was out on the road and got a flat, that I no longer needed to be a “damsel in distress” and call one of the RSO Shop Guys to come rescue me. I didn’t feel the fear in thinking I’d have to flag down a stranger to help and pray they weren’t a creeper (Stanger=Danger). I knew that from this moment on, I’ve GOT THIS!
 New Power Steering Gear Box + New Lines = One Frustrated Garage Girl

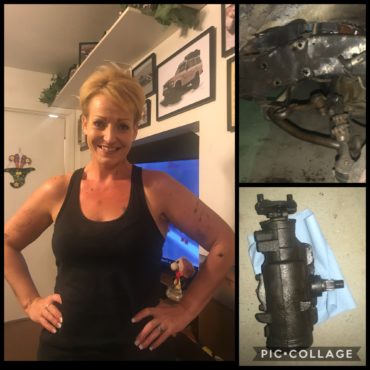
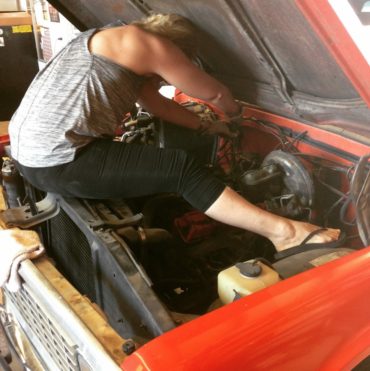
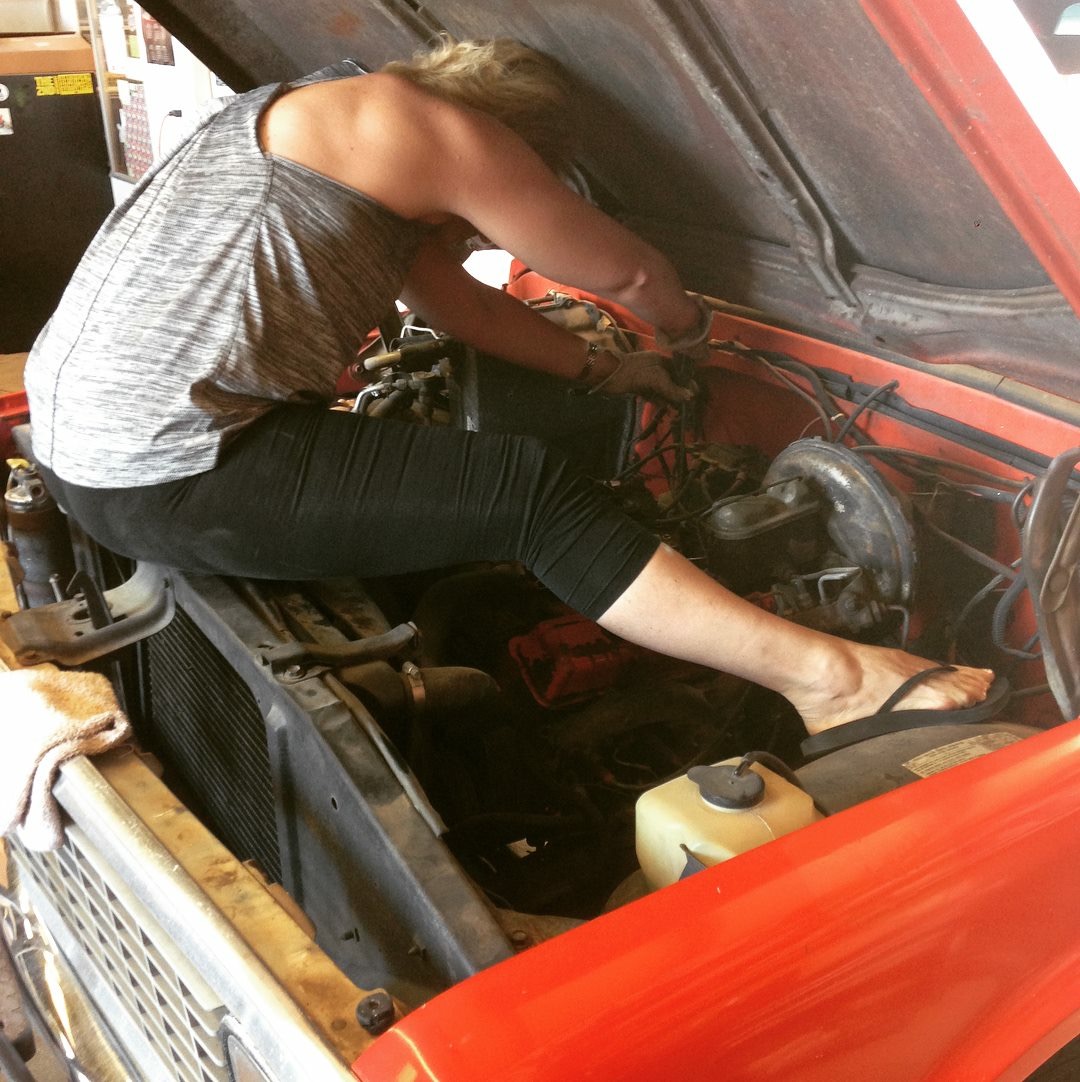
For years my truck has had a power steering fluid leak, after lifting her up and seeing the disgusting mess it had made meant it was time to fix it. It was clear to see that both the lines and the gear box had to go and be replaced with new. I called up our local Pep Boys and ordered up what I would need but knowing this was going to be a big and dirty job (for me at least), I procrastinated for a few weeks. Sounds CRAZY for those who really know me, as procrastination is a pet peeve of mine. After listening to Big Mike complain about the new gear box being on the shop floor, I decided I couldn’t put it off any longer and I waited until Big Mike was out running errands to start. My thought process was, he’ll come home and see that (hopefully) I’m half way through the job and be both surprised and proud – SNORT – Not the case at all! You see, I have the Chilton Manual for my truck and though some chapters are more easily understood than others, this chapter might as well have been in a foreign language. Absolutely nothing I read made sense in my mind, nor could I even come close to understanding the technical terms, so I was stuck waiting for Big Mike to get home. Using a step ladder, I tried to reach the lines to undo them but could not get the leverage to do so. Next, I went under the truck, where every movement I made had chunks of power steering fluid corroded dirt falling in my face (so I got that going for me). Meanwhile I am cursing the design engineers for the position the lines were in and how difficult it was to get to them! After hours of work and listening to the RSO Shop Guys relentless teasing of how long a “20 minute job” was taking me I was done, or so I thought.
RSO Shop Girl Tip: After completing this job you MUST bleed the power steering fluid lines before test driving. Bleeding the lines means making sure you get all the air pockets out so your vehicle will perform properly. If you can hear your power steering gear box making noise, it means you still have air pockets in the lines and need to start the bleeding process over again. Even though this job was indeed a dirty one, it was awesome to learn something new and more about how my truck functions. Knowledge IS Power!
 New Distributor Cap + New Spark Plugs + New Wires = Girl Builder In The Making
This was one of my favorite projects, I loved learning all about the distributor and the spark plugs. Let’s face it, up to this point anything that happened under the hood of my vehicle was magic to me. The first thing Big Mike explained was that I needed to know the firing order of my spark plugs BEFORE removing the wires and distributor cap. Getting out my Chilton Manual, I looked up the firing order to my truck which is 1-8-4-3-6-5-7-2.
RSO Shop Girl Tip: Looking at my engine from the front (grill) on one side of the block I have odd numbers, 1-3-5-7 and on the other I have even numbers, 2-4-6-8. On my 350 Chevy Small Block the odd numbers are on the driver’s side while the even numbers are on the passenger side. Keep in mind that not all manufacturers are the same, so a good rule of thumb is that #1 will always be the furthest forward point. Also, looking at my engine I can see that one valve cover sits a little forward than the other – so I know that the first plug is my #1. Tracing the wire around I find where it plugs into the distributor, with a sharpie I mark #1 on the cap, and so on until all 8 wires are clearly marked. That way when I reinstall everything I know where the wires go from the block to the distributor.
Getting out the new spark plugs, first I needed to measure the gap as they are not always set to the correct factory settings that ensure your engine achieves proper combustion. A spark plug delivers an arc of current (not an actual spark) from the ignition system to the combustion chamber. The current creates an arc that jumps the gap from the central electrode to the ground/side electrode. The distance must be exact otherwise the plugs won’t fire efficiently. Next, I pulled all the wires and removed all the spark plugs and inspected each one according to my Manual. From the picture below, you can see that I have an oil fouled spark plug.
RSO Shop Girl Tip: Inspecting your spark plugs can reveal any issues and/or problems you may have with your engine. In this case I have excessive oil entering the combustion chamber through worn rings and/or the pistons. At this point the decision was made, to stop throwing good money after bad just to keep her running. She is old. She is tired. She’s given all She has. It was time to start planning her resurrection.
I ran her for a few more months, until I felt I couldn’t trust Her to leave me stranded. She sat parked for a few weeks until we could make room for her in the Shop and have a cart for her cab. I was super ready and excited to get started, and I’ll admit a little scared. I asked Isaac at this point, “Are you sure your okay with me building your truck? Do you think I’ll be able to it?” This was his response, “Ya Granny, I know you can do it and I’ll have the coolest truck of anyone!” If that isn’t motivation, then I don’t know what is.