Author: Ann Woodward
Looking at your lug nuts, you wouldn't think how important it is to tighten and install them properly. There are so many complications that can come from not using the proper method of lug nut tightening: warped brake rotors, damaged rims, discharge of the wheel, broken lug studs, and possibly more damage to the vehicle.
- Remove lug nuts and note if there is any resistance.
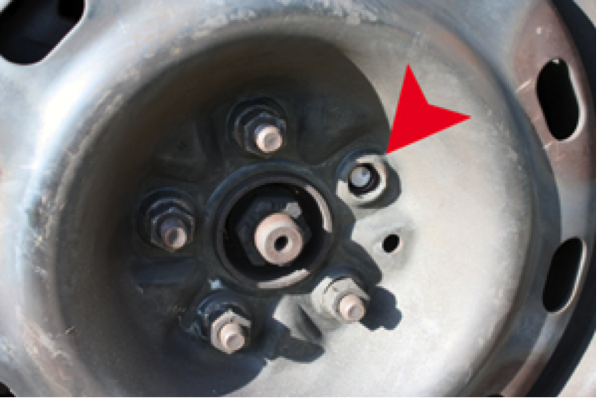
- Remove the wheel and evaluate the studs for damage or corrosion.
- It's always good to check the brakes while the wheel is off.
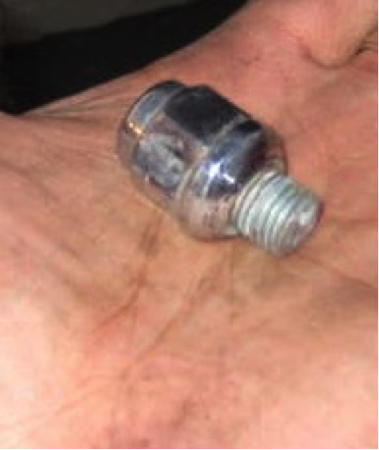
- Sometimes, with too much pressure, or if the lug nut was cross threaded when installed at previous service, it can snap the stud.
- This is not a hard repair and can be fixed in about 30-60 minutes. Usually, the brakes have to be removed in order to remove the broken wheel stud and install a new one.
Reinstall
 Check the surface that the wheel mounts to and make sure it's clean of any debris like road salt or corrosion.
- Check the inside of the rim for the same and clean if needed.
- Install the rim and tire. Make sure it gets a good seat on the center ring.
- Start to screw on the lug nuts by hand and note if there is any resistance.
- Refer to the torque chart and use a torque stick if available.
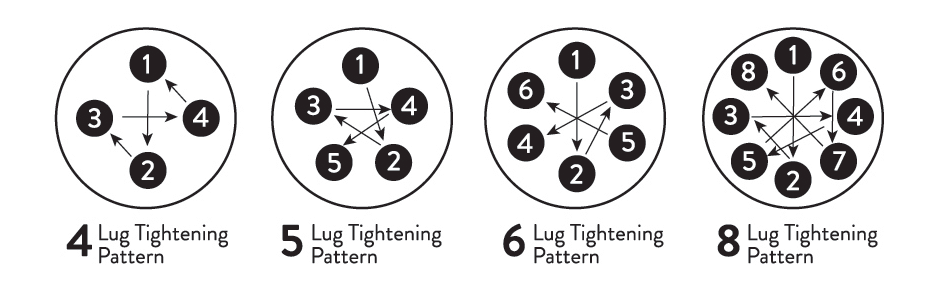
- Using the star patter as shown below, tighten the lug nuts with the torque stick. If a torque stick is not available, tighten with a socket wrench using the star pattern, trying not to hold the trigger on the impact for very long. Repeat 2-3 times, then follow with a torque wrench.
- Lower the vehicle until the tire just touches the ground before the final torquing. This allows the lug nuts to level out the seat on the rim, and with the full weight of the vehicle on the wheel, it will not allow the rim to seat properly.
- Set it to the proper level with the torque wrench.
- Follow the traditional star pattern sequence.
- Always push down on the torque wrench, never lift. (This will save you from future back pain.)
- Always double check your work.
This is a simple procedure that is extremely important to vehicle safety and avoiding vehicle damage. Unfortunately, it is also one of the most overlooked procedures in vehicle repair and, as stated before, can lead to damage or even a fatal accident if the wheel falls off the vehicle.
Author: Ann Woodward