 Have you ever gotten into your vehicle to go to work and heard the dreadful clicking of a dead battery? Ugh, what a horrible start to the day! Batteries, like everything else in your vehicle, can wear out over time. (We will talk about why in another post!) It is a good skill to know how to change out a tired battery for a fresh new one. Read through it now, pop the hood on your vehicle, visualize the process, and then remember this reference when your time comes!
Tools
- Adjustable Wrench
- Socket Set (possible)
- Terminal Wire Brush Cleaners
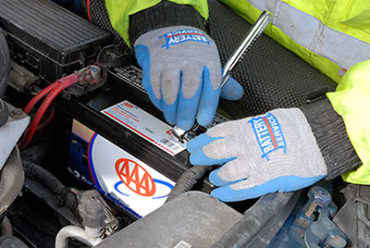
- Work Gloves
Click to see example
Removal
These are the seven steps to removing your battery:
- With the engine off, pop your hood.
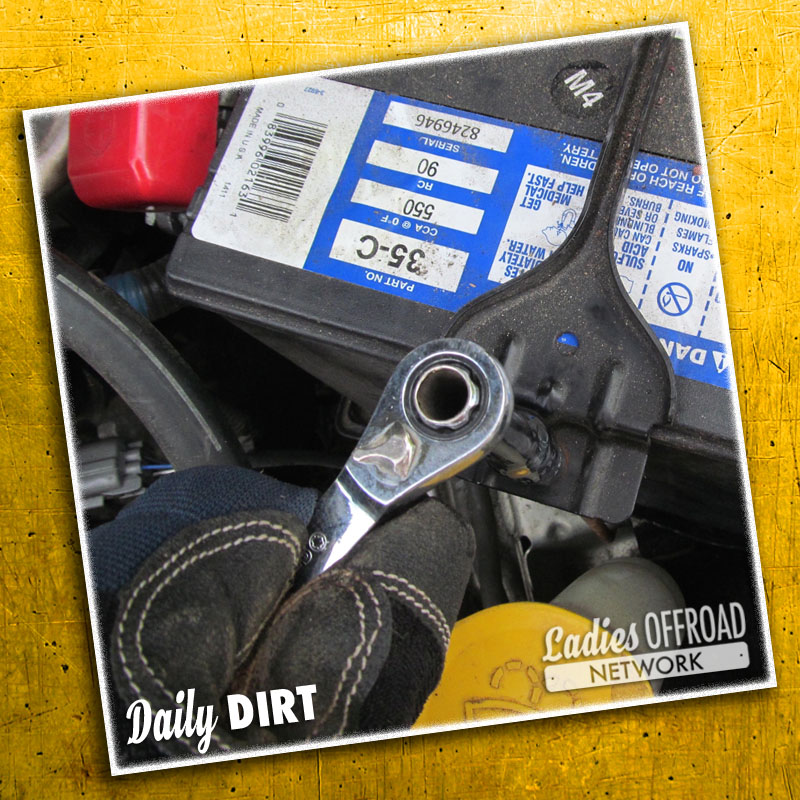
- Using an adjustable wrench loosen the nut on the side of the negative (black, or -) battery cable.
 Gently twist and pull up on the end of the cable with your hand until it is free.
 - Do not pry on the cable, as you could possibly break off the terminal by applying too much pressure.
- Once the negative cable is detached repeat the process to remove the positive (red, or +) cable.
- Place the cables off to the side where they are not touching each other.
- Remove the battery holder.
- This could be in the form of a battery strap that runs over the top of the battery or a mount on the bottom of the battery tray.
- Use an adjustable wrench, or you may need to use a socket for a bottom mount.
- Lift the battery out of the tray. This is easiest if the battery has a handle or you can use both hands and pull it up from the bottom of the battery.
- Make sure to take note of which terminal is on which side before you remove the battery so you can put the new battery in the same direction.
- Be aware of any battery acid that may be present and avoid getting on you or your clothes.
- You did it! Set the battery on a piece of cardboard and take it to your local auto parts store.

Charlene Tip: Did you know there is a core charge for batteries? That means when you buy a battery you are charged a specific amount for the disposal of your old battery. When you return your battery you are refunded that core charge. To keep it easy, try to always take your battery with you when purchasing a new one to eliminate an extra trip to the store.

Reinstall
To put the new battery in, you reverse repeat the operation of taking it out:
- If you have acid build up (white/blue-green chalky substance) on your battery cables use a wire brush to clean them off before installing
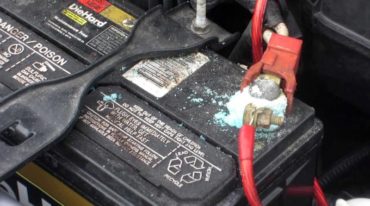 your new battery.
 - Lift the battery back into place making sure it is facing the same way as the old battery so your positive and negative cables match up correctly.
- Reattach the battery hold down.
- Connect the negative cable to the negative terminal (marked with a – sign).
- Connect the positive cable to the positive terminal (marked with a + sign).
- Tighten the bolts holding the battery cables to the terminals
- You want to make sure these bolts are tight enough that the clamp cannot spin around terminal or slide up on the terminal.
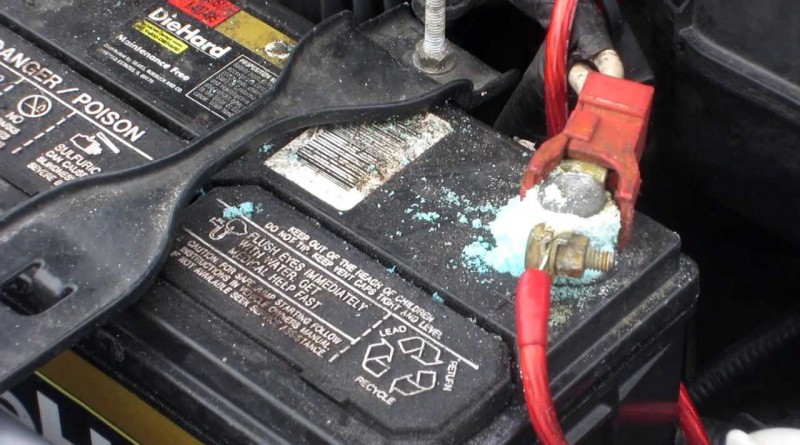
Charlene Tip: If there is a lot of acid build up on the terminals and you can’t get the nuts to break loose try using a solution of Baking Soda and Vinegar. If you don’t keep that in stock, lemon juice might be strong enough to do the trick. Once the terminals have been removed, and the acid still does not come off easily you can soak the clamps in black coffee for a few minutes and they will be like brand new afterwards!
What’s Next
Sure, you can rely on most parts stores to help you change out your battery, but that is if you can get your vehicle to their parking lot. Take a minute today to go pop your hood, look at your battery and mentally go through the steps to unhooking it. You can do this! Next time you hear the click of a dead battery you will be ready to swap it out, no problem!
Author: Ladies Offroad Network Team
Share with your Friends on Facebook: